Tips for Craft Time With Kids of All Ages

Religious & Bible crafts are a tried-and-true Sunday school, Bible school, Wednesday Night kids club, and family day activity. Almost everyone has taken part in these fun activities at some point in their life.
Crafting has several benefits for kids of all ages. Plus, it helps reinforce lessons in a real and meaningful way. Doing kids’ crafts helps build critical thinking, supports self-esteem, teaches fine motor skills, encourages a creative mindset, and develops patience.
But let’s get down to the glitter and glue here… Planning and executing easy craft ideas with children isn’t for the faint of heart—especially in a large classroom setting or in a children’s group. It can leave a teacher or parent feeling exhausted running from child to child, supporting the chaos, and ensuring no one cuts, glues, or dumps out anything they shouldn’t.
Here are some of our favorite kids’ craft tips from teachers and parents. These suggestions will help keep order when you’re doing crafts with children of each age group. Hopefully, this list will help you feel more comfortable in thinking outside the craft box of paper rolls and paper plate crafts.
For Preschoolers…
1. Presort and precut craft supplies.
Have you ever tried handing out wooden craft sticks to your class? By the time you reach the back of the class, the front has either broken half their sticks, lost them, or managed to glue them to something else already! So precut every piece of your craft project and any support materials. Then place each item needed for the craft activity in a bin or zippered baggie for each student.

2. Glue using sponges.
An easy kids craft “hack” for using glue is to give each child a sponge. (You can buy packs of six from a dollar store.) Squeeze the glue into a plastic container and then have kids dip their sponges into the glue. Challenge the kids to see who can have the neatest dip of glue on the edge of their sponge.
3. Use old T-shirts to protect your clothes.
Little ones are messy, especially with paint, glue, and glitter. Period. Protect their clothes, even when you don’t think you have to. It is also a visual cue for kids that they’re doing something different and therefore should remain seated. And speaking of seating, we highly recommend assigned seating for ongoing classes. That way you can seat stronger crafters next to a younger member and have them help. Kids love to show their helping skills!
4. Consider giving choices.
Young kids love to have a sense of control. Allowing a little one to choose between two colors is a small way for them to feel like they have a part. Limit choices to a few and be sure there’s enough for every kid to choose red if needed. 😊
For Kids in Elementary School…
1. Write down easy craft instructions.
Writing down simple instructions can help an older kid practice his or her reading skills. Plus, it will save a lot of time in having to repeat yourself. You can write the easy craft steps on a poster board or on a chalkboard at the front of the room. Or supply a one-sheet checkoff list for young children to follow at their desks.
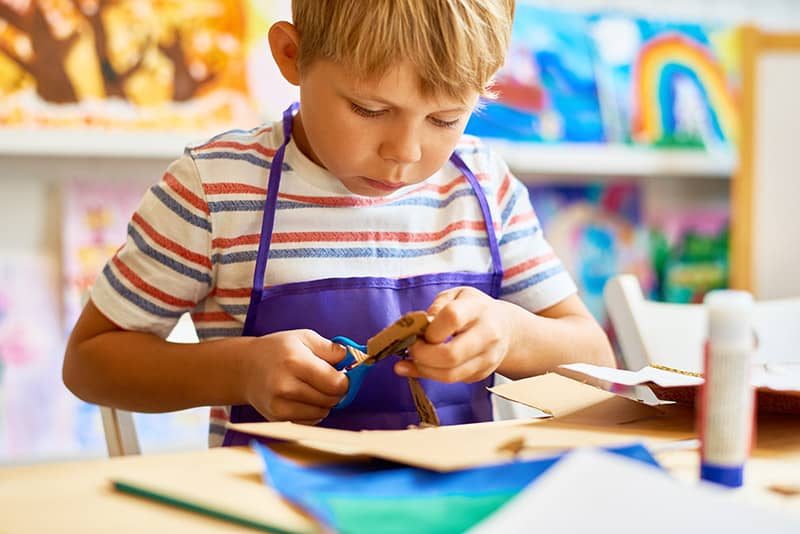
2. Let kids cut out their own material (within reason).
Printing templates and providing scissors and other supplies for each child is a fantastic way to get them involved with the fun craft and make it unique. But keep in mind: Cutting adds time, and usually more time than you think it will. If you need to fill time, this is a great idea. If you’re short on time, cut out the craft supplies ahead of time.

3. Have backup activity sheets ready to go.
You will always, always have some kids who are done in a few short minutes. And you’ll also have some kids racing to finish as people are leaving. For students who are done earlier, have a backup activity sheet or puzzle ready. That’s a fantastic way to occupy kids and reinforce the lesson. (Psst …. Children’s Worship Bulletins has activity sheets from hundreds of Bible stories!)
For Tweens and Teens…
1. Offer lots of room for creativity with craft ideas.
When crafting with teens, keep the general concept of the craft loose. Allow tweens and teens to choose the medium, the colors, and even what texture paper or construction paper they may want to use. That allows them to express their own unique styles, without feeling like crafts are just for younger kids.
2. Supply templates when possible.
Although most young people know how to cut out a shape, surprisingly, asking them to cut out an object often becomes a big hurdle for those who “think” they aren’t creative or artistic. Remind everyone they don’t have to use the template. But it’s a safety net for anyone who may feel overwhelmed by having to produce a drawing and then cut an object out.

3. Consider crafts that build skills.
This can sometimes be a tougher age group to get buy-in from all your students. So consider building a craft that also introduces participants to life skills. For example, complete a baking project or use household items like nuts, bolts, and washers to introduce kids to items they may not have handled yet. You could also build and paint more complex crafts that take several weeks. Examples include a prayer box with balsa wood or bird feeders to donate to local nursing homes.
For Adults…
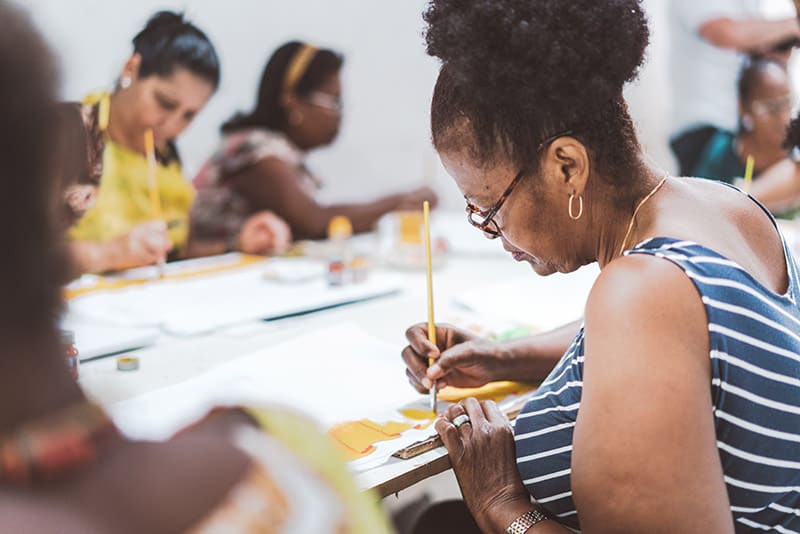
1. Select crafts that double as usable objects.
Crafts that are also dual purpose as mini-DIY projects are often a big hit among adults. For example, provide a small easel to display their painting, and then that craft can become décor. Another hit, in our experience, is rock painting. Crafters can keep them for their own gardens, or you can provide a list of local areas to hide the rocks for people to find. (Perhaps volunteer to hide the rocks yourself, for people who are less ambulatory.)
2. Allow lots of time.
One thing we’ve learned with adults is that crafting is also a great social opportunity. You’ll love hearing the chatter that goes on! So if you’re planning to do a craft, consider having a short devotion at the beginning. Then offer discussion questions about the devotion that members can contemplate and chat about while they’re working on their project. Mingle from table to table, perhaps asking another question that isn’t written down to engage with people directly.

3. Have backups.
Adults are perfectionists. A few people will likely want to start over. So it’s good to keep handy a couple of additional sets of materials. And if you have leftovers, you can always create a craft kit with supplies and instructions to send or deliver to people who weren’t able to attend the event.
4. Provide examples.
We’ll say it again: Adults are perfectionists! 😊Having examples (whether pulled up on your phone or actual physical examples) can really reduce the anxiety of participants. As a bonus, it can help them better enjoy the process and fellowship time.
For Everyone…
While doing your craft activity, as the craft instructor or teacher, it’s a great time to re-engage in the Bible lesson or devotion you just covered together. You can ask questions about what you just learned, reiterate key points (such as “As you add the colors of the rainbow, think about God’s Promise to us and what that means.”) or simply comment on the craft and how it reflects the lesson. Just occasionally speak to the group during craft time to help remind your class about God’s word.
And most of all, try to have fun! Be creative and enjoy the process.
For we are his workmanship, created in Christ Jesus for good works, which God prepared beforehand, that we should walk in them.
—Ephesians 2:10, ESV
Author Bio:
Kristen Greene
Kristen Greene is the Creative Director of Communication Resources, Inc. Being the daughter of a Publisher and active Church Leader, she grew up in the Church Publishing Industry. She has also been involved in multiple church roles and non-profit events – which makes solving real church and volunteer problems near and dear to her heart. Kristen enjoys camping with her husband and two small children, painting, and gardening.
